DataBex
Utility
Several Original Equipment Manufacturers (OEMs) provide data in different file formats (such as .arxml, .xml or .ldf). These files contain important catalogs for our project. To get data regarding messages, signals, busses and more from these OEMs files and to integrate it into our applications via a database, we rely on a tool called DaTaBeX. It serves as a parser, allowing us to convert the incoming files into a format that is compatible with MTF which is the SQLite database format (.db file)
DataBex installation
DaTaBeX is a built-in application within MTF. When you install MTF, a compatible DaTaBeX version is included by default.
Note
If you are within Technica network you can obtain a DaTaBeX version from Jenkins.
DaTaBeX usage : generate a new DataBex file
To use catalog files (such as .arxml, .xml or .ldf) in the MTF framework, you must change them into .db files. You can generate the DataBex file using a command line or the DataBex GUI (graphical user interface):
Using CLI
Execute the following command in the same folder as Databex.Cli.exe usually under Python_path/Lib/site-packages/mtf/libs/databex:
In case you need to generate a DataBex file from a single catalog file:
Databex.Cli.exe generate path\to\catalogFile -output path\to\DatabaseFolder\dbFileName.db
In case you need to generate a DataBex file from multiple catalog files:
Databex.Cli.exe generate path\to\catalogFilesFolder\* -output path\to\DatabaseFolder\dbFileName.db
path 1: this is the path to the input file(s) containing the data you want to include in the DataBex file generation.
-output: this is an option to indicate where the output file should be placed. If you don’t use it, the output file will be placed in a folder named Database, and this folder is located at Python_pathLib/site-packages/mtf/libs/databex/Database.
path 2: this is the path of the output folder with specifying the name of the output file(DataBex file).
Using DaTaBeX GUI
To open DaTaBeX graphical user interface (GUI), go to Python_path/Lib/site-packages/mtf/libs/databex and open Databex.UI.MainApp.exe:

The following window will open:
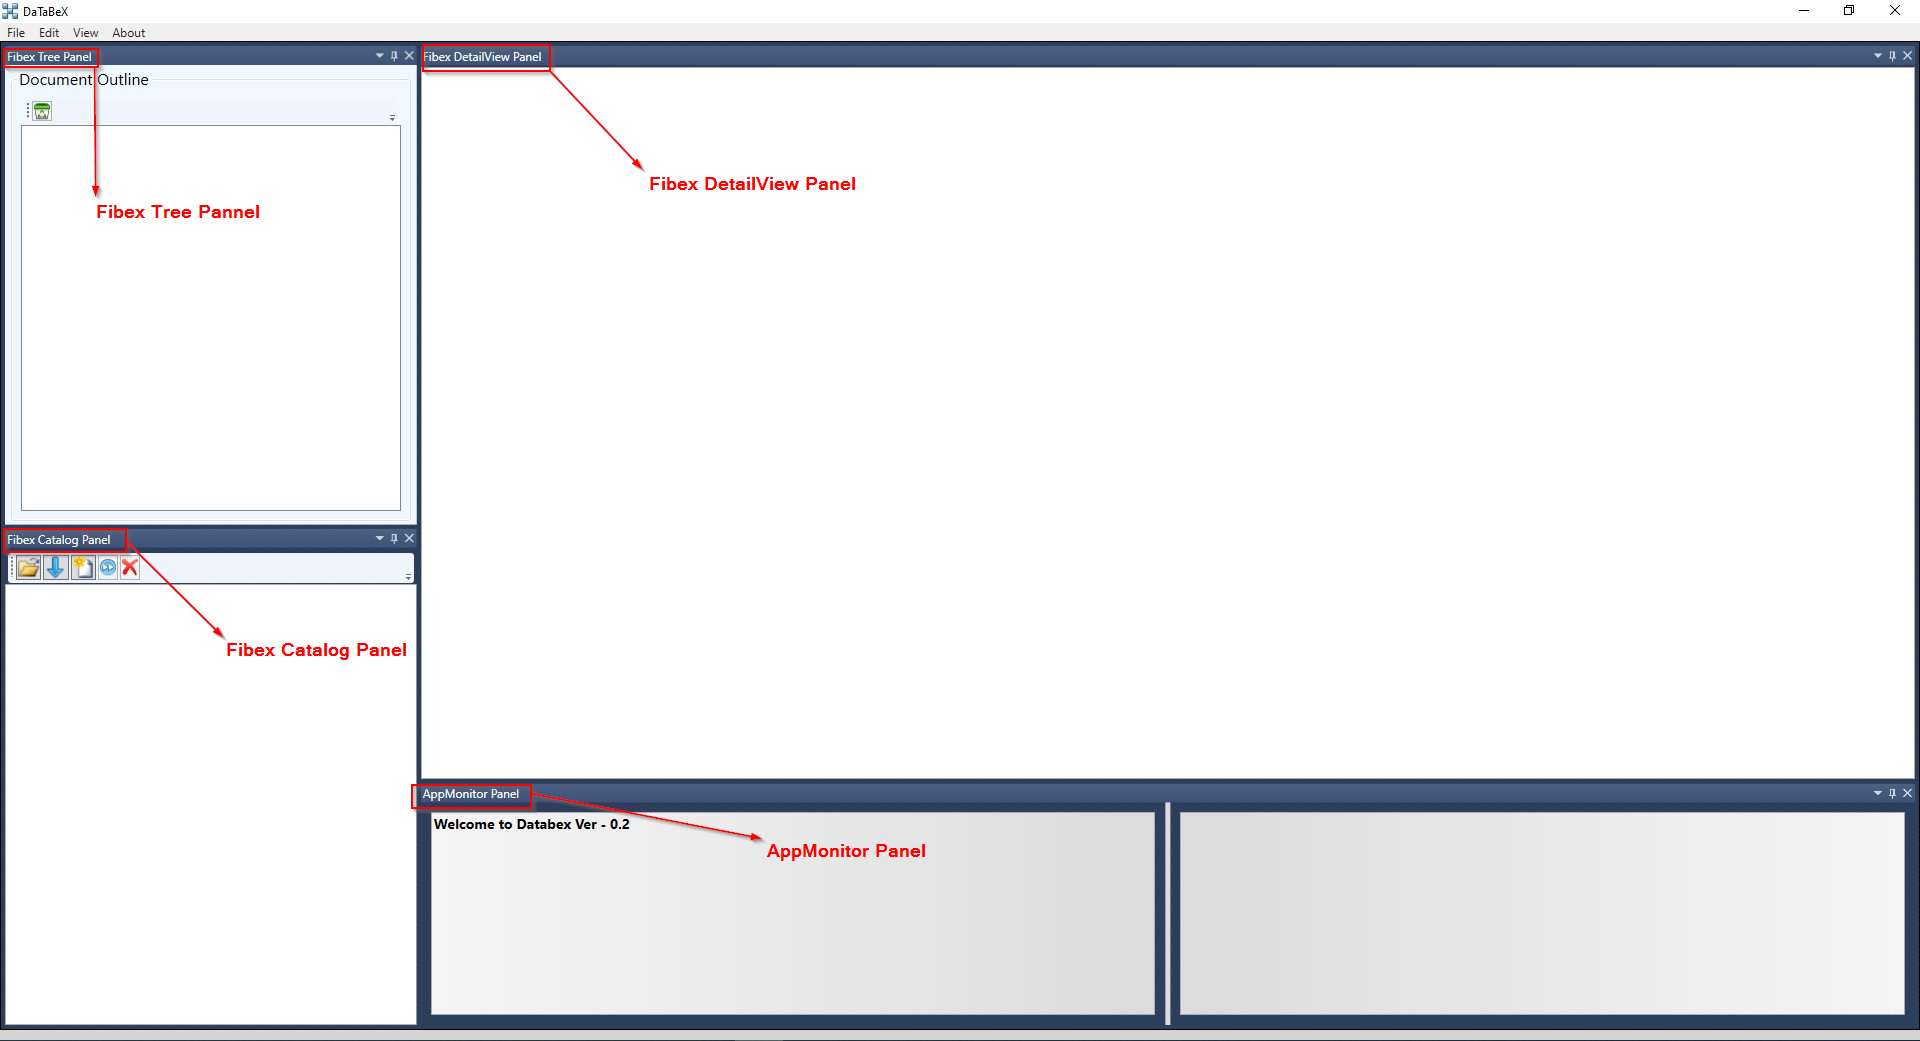
DataBex file generation from a single catalog file
To choose 1 catalog file for loading, simply click the Select Fibex File button.

Reach the folder where you have placed the catalog files and select 1 catalog file.
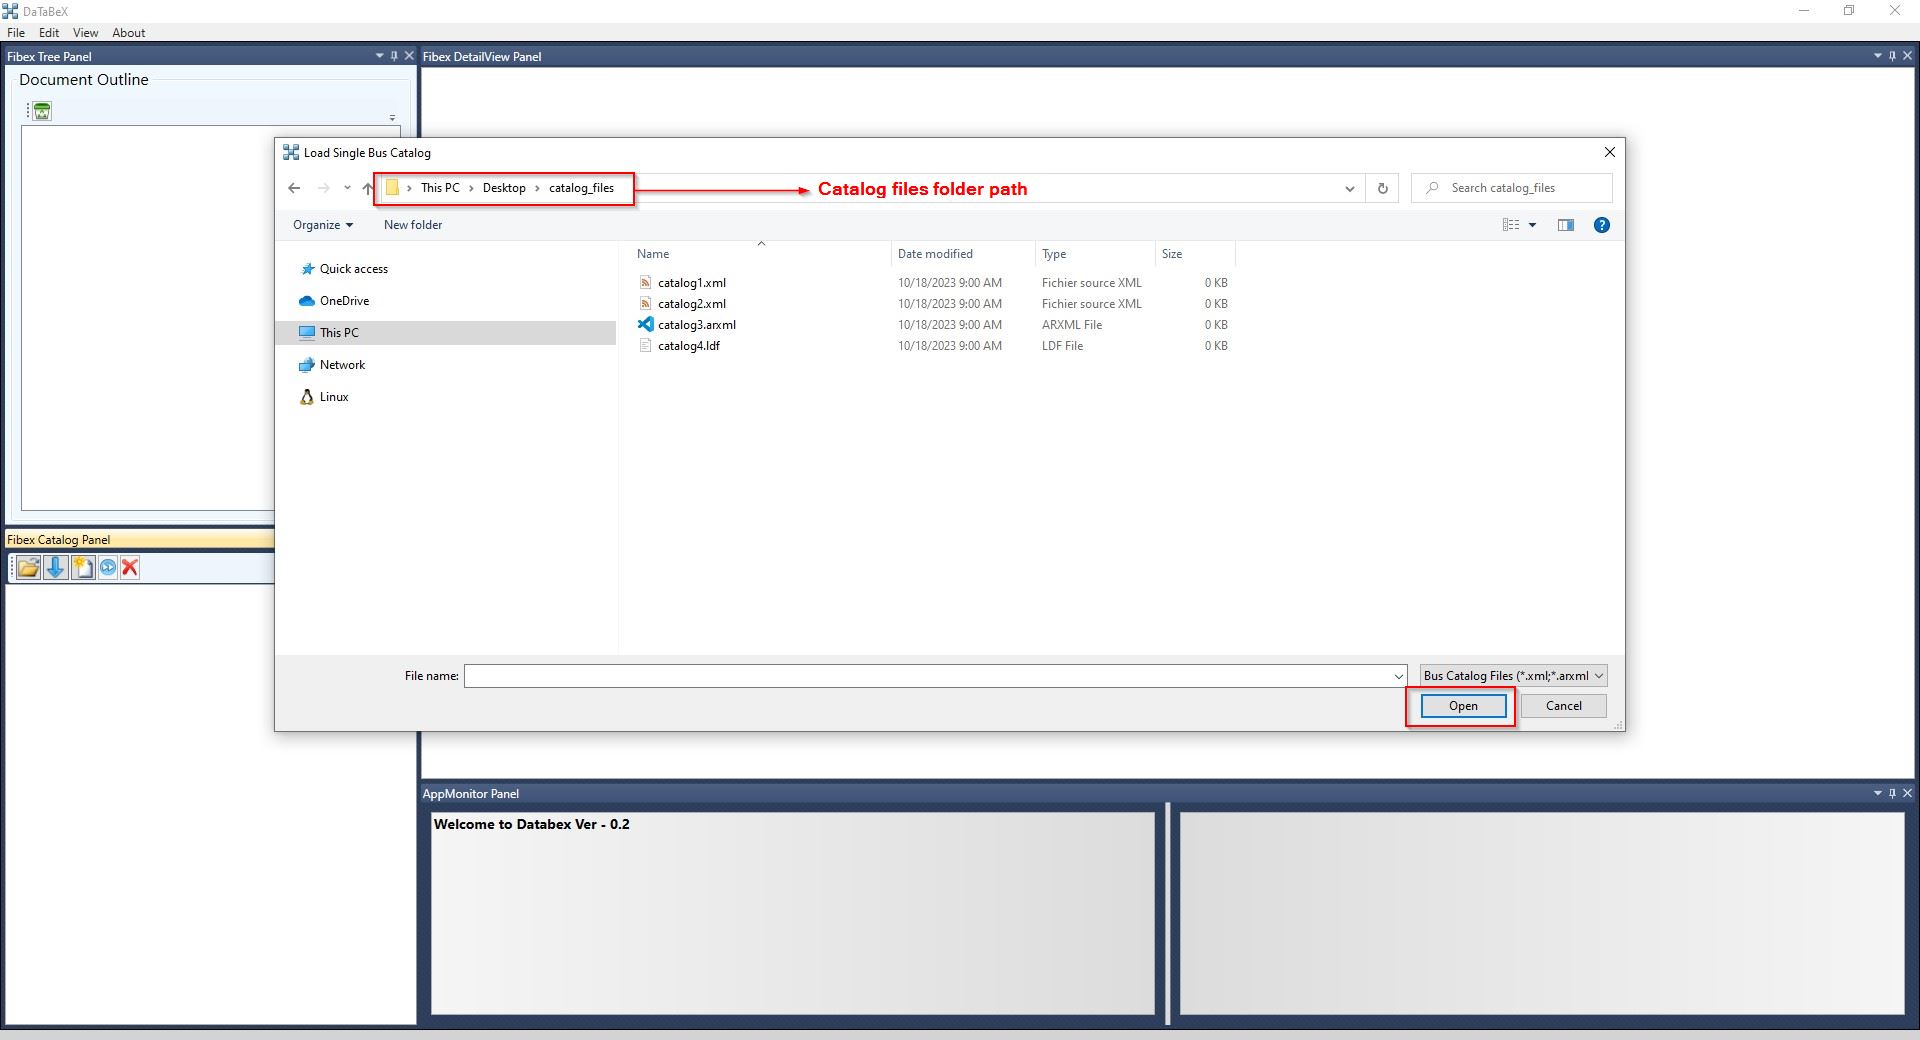
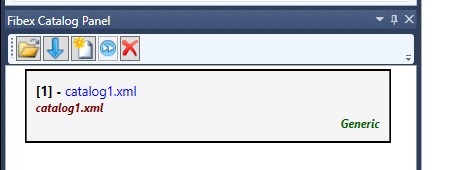
Click Open button, and the desired catalog file will be loaded into the Fibex Catalog Panel
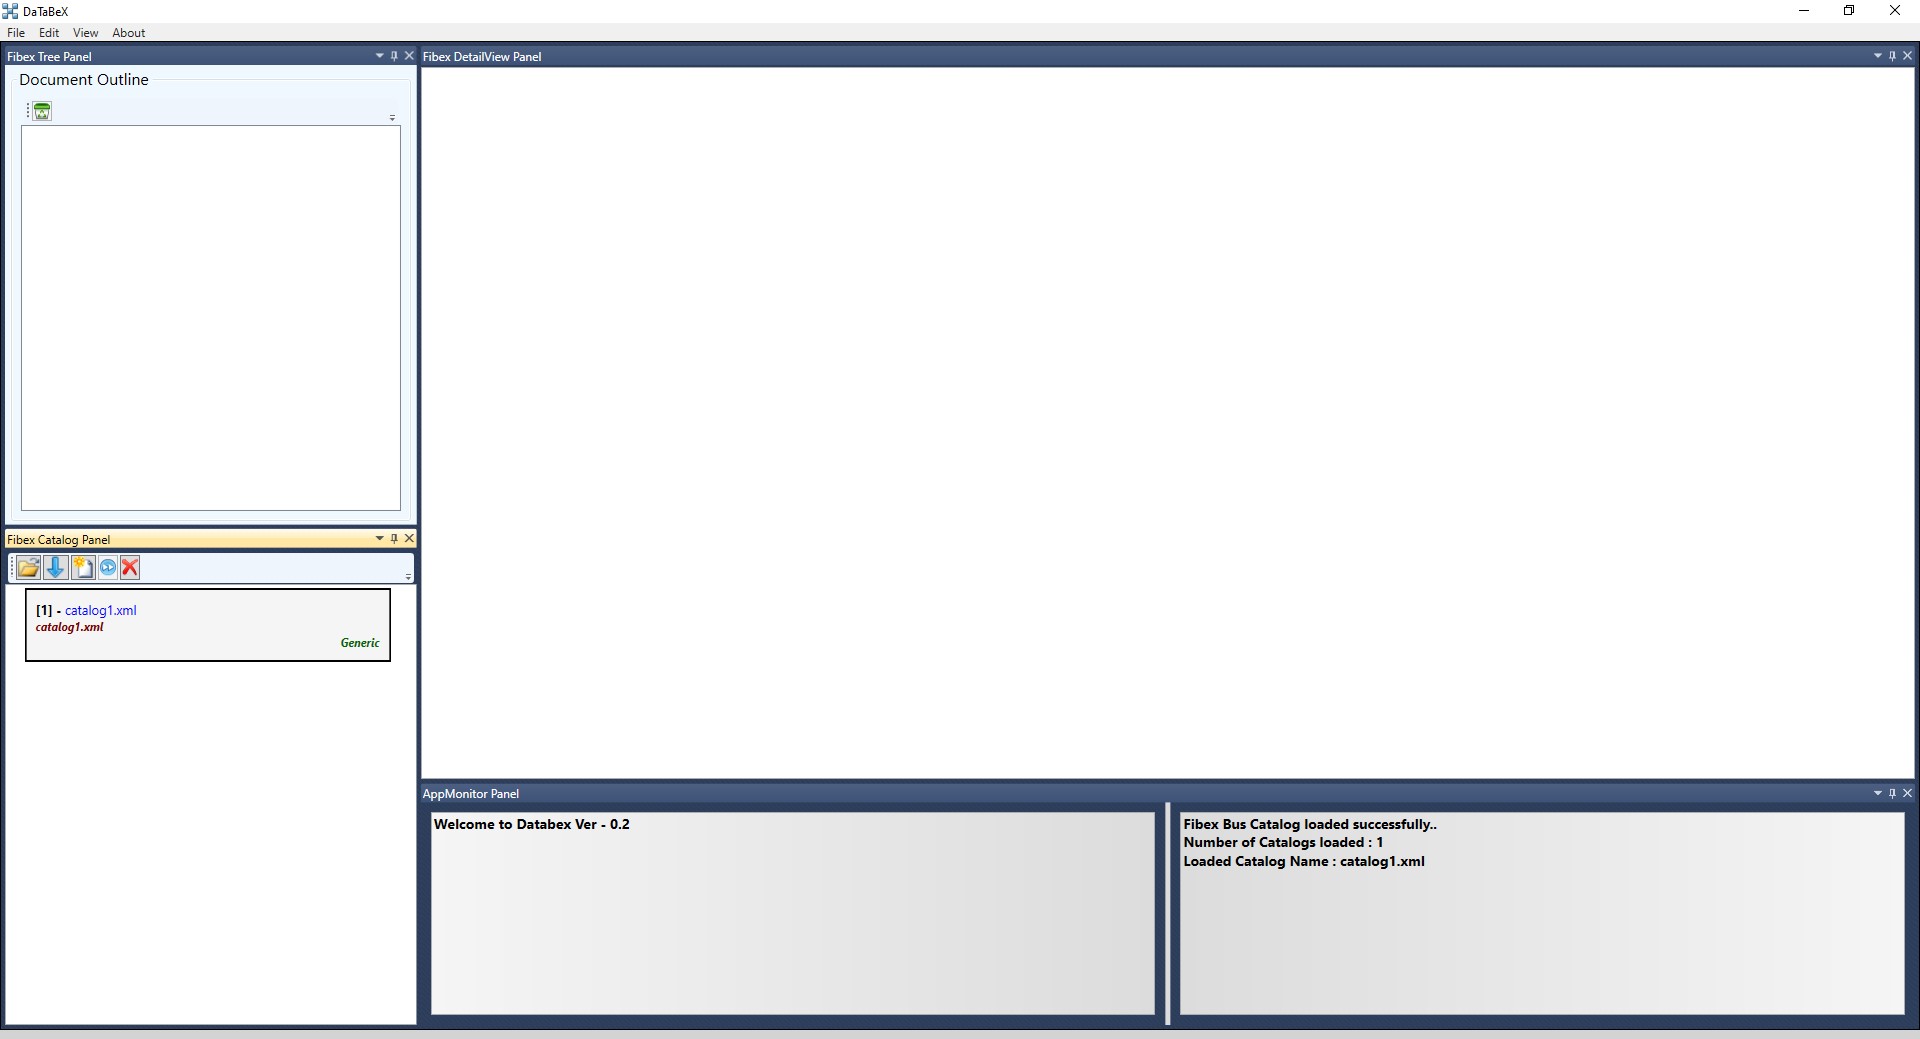
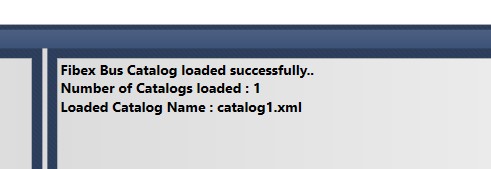
This text below will appear in the top-right corner of the AppMonitor Panel:
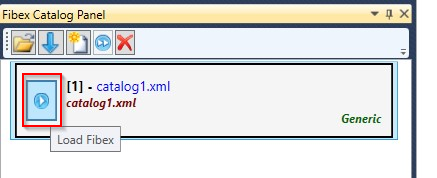
Move your mouse over the the catalog file in the Fibex Catalog Panel, and click the Load Fibex button.
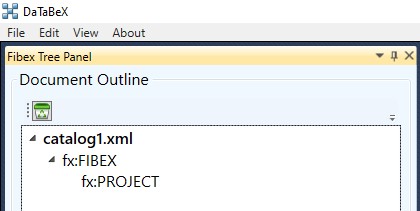
The catalog file will be loaded into the Fibex Tree Panel:
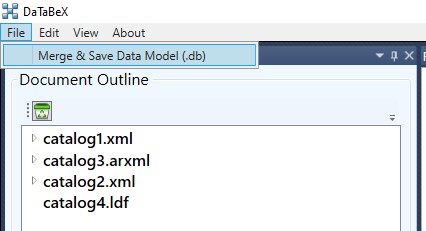
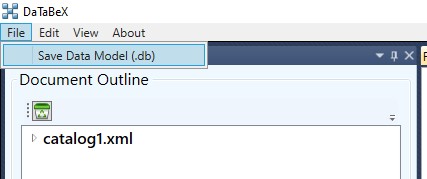
To finish generating the db file, select File and then choose Save Data Model (.db)
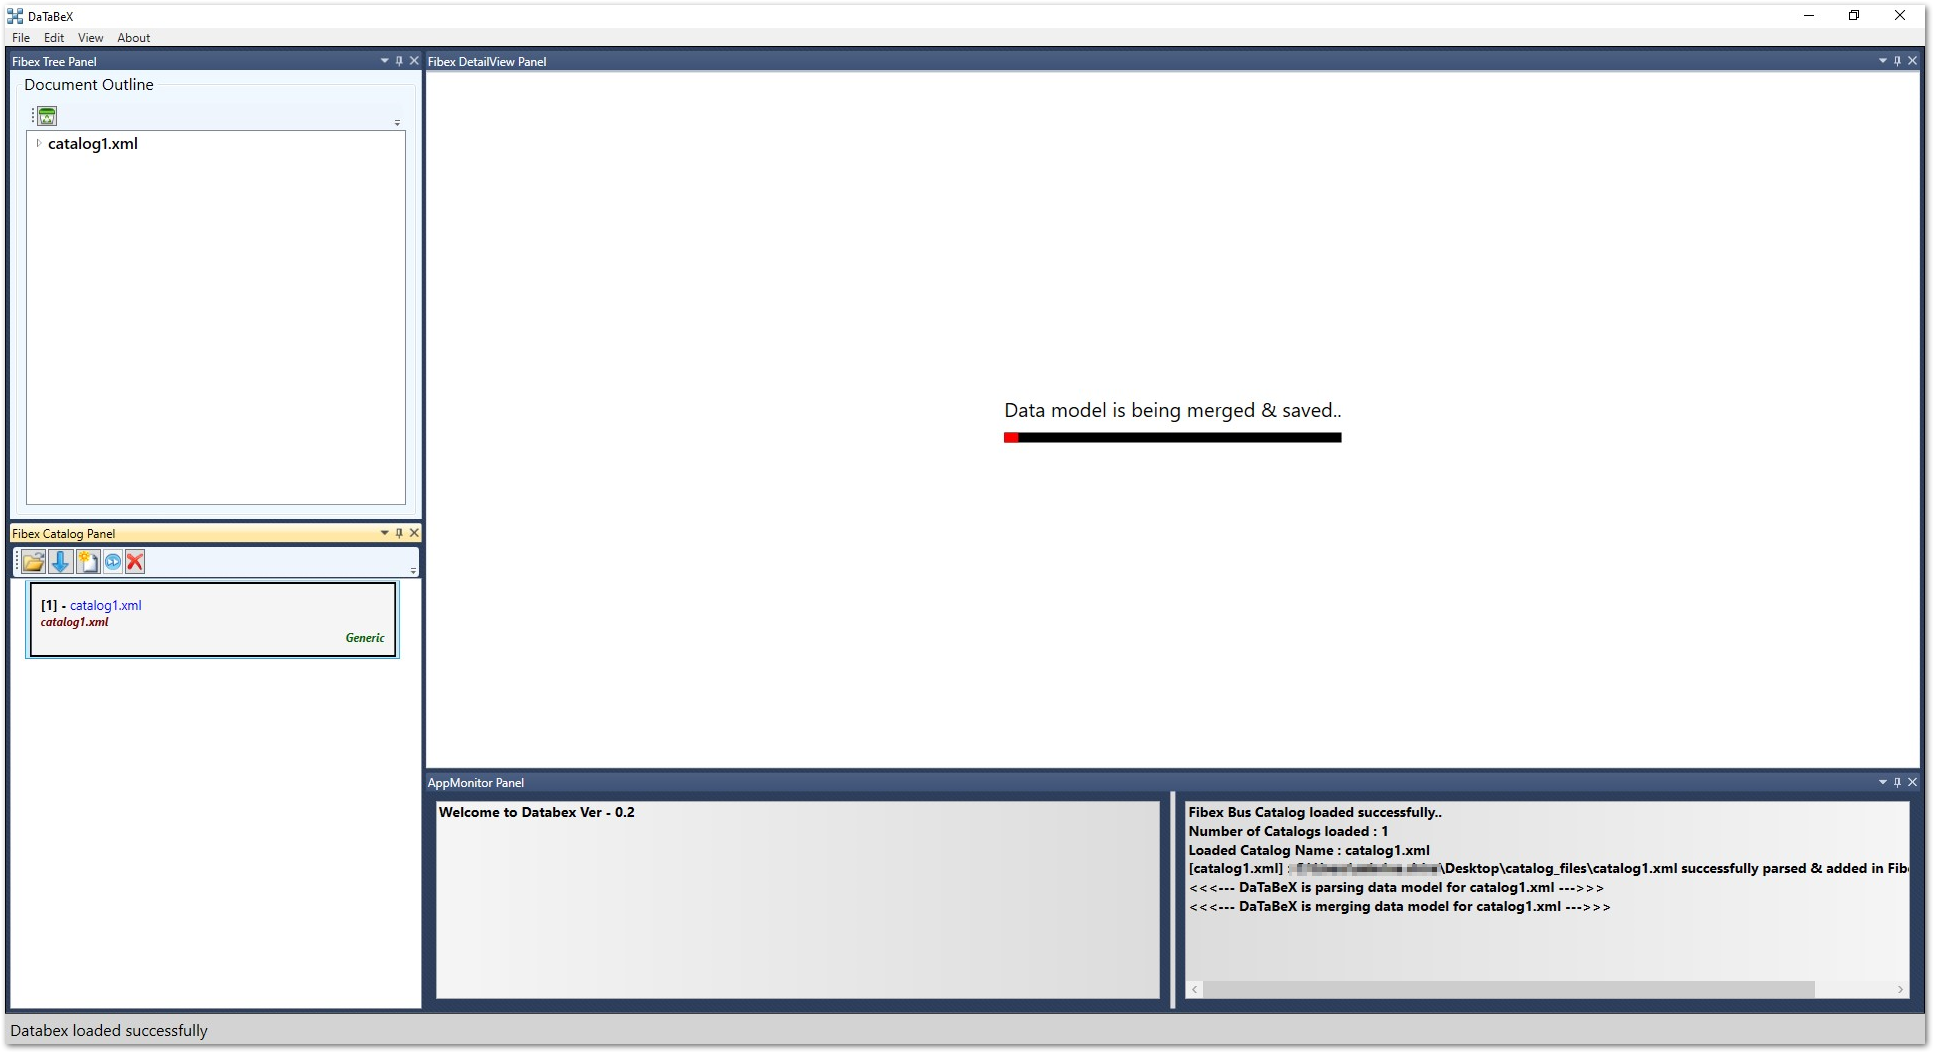
While the data model/DaTaBeX file is being generated, you will see the message Data model is being merged & saved..
After the generation is finished, this message will appear in the top-right corner of the AppMonitor Panel:

Important
MTF (Modular Test Framework) accesses data from the db file using views. Those views are automatically generated during the data model generation.
DataBex file generation from multiple catalog files
To choose multiple catalog files for loading, simply click the Select Fibex Catalog button.

Reach the folder where you have placed the needed catalog files and click Select folder
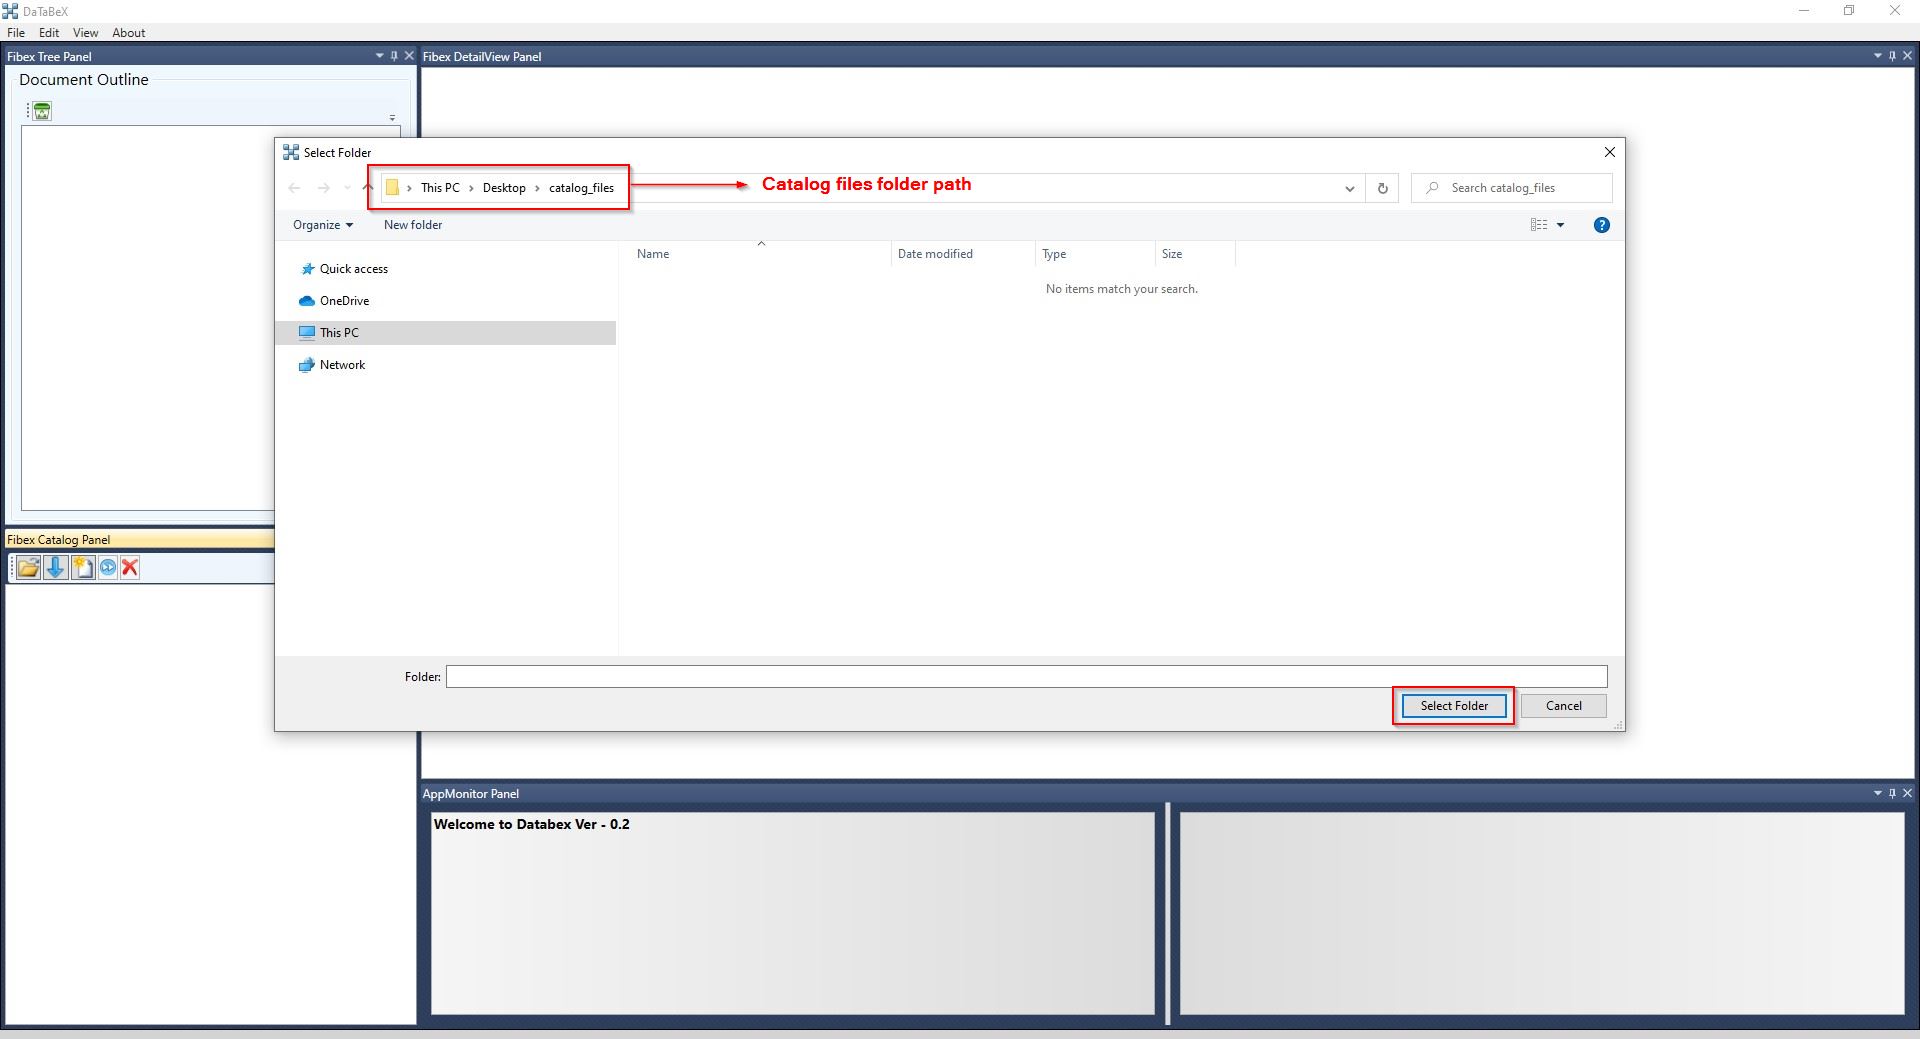
Note
The contents of the chosen folder will not be displayed, just make sure it is the right folder.
Click the Load Fibex Catalog button.

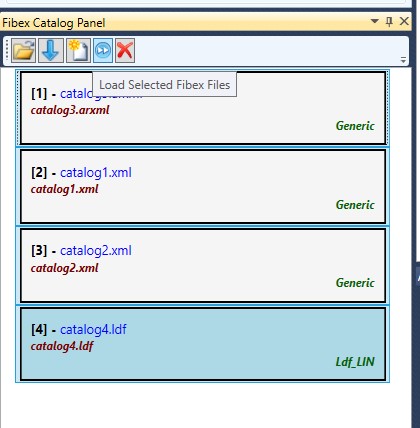
Catalog files will appear in the Fibex Catalog Panel.
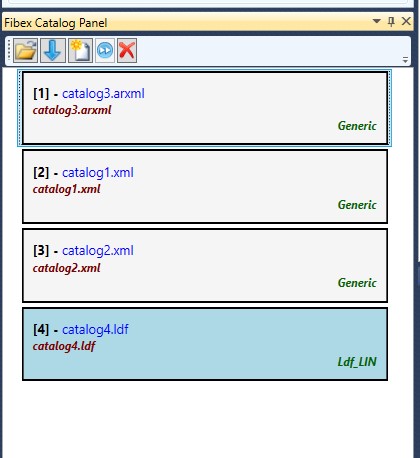
4. Press Ctrl+A to select all the catalog files, then click the Load Selected Fibex Files button. You also have the option to not select all catalog files.
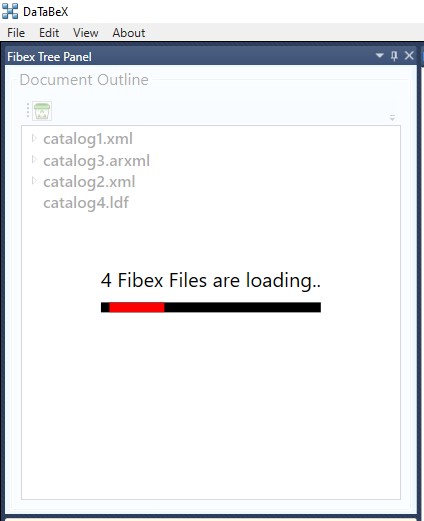
Catalog Files will be loaded into the Fibex Tree Panel.
6. To finish generating the db file, select File and then choose Save Data Model (.db). A .db file will be generated in a few seconds or minutes, depending on the catalog files sizes.
