TECHNICA-IDE
TECHNICA-IDE overview
TECHNICA-IDE is a robot framework editor based on Eclipse IDE. It is used to implement, execute and debug robot test cases. It boosts testing efficiency by providing different functionalities in a standardized project environment. It offers access to different views to facilitate the test case implementation.
The features supported by TECHNICA-IDE are:
Eclipse Based IDE.
Reuse of the RED Editor and Robot Framework’s newest versions integration.
Drag and drop from Test Data plugins (ARXML databases, ODX Diagnostic, A2L).
Drag and drop from Keyword Libraries.
Note
TECHNICA-IDE currently operates only on Windows 10 or newer.
TECHNICA-IDE Dependencies and Installation Steps
TECHNICA-IDE is a software provided by Technica Engineering as an executable IDE. It can be updated within every release with an update site.
In order to have access to the TECHNICA-IDE functionalities, you should get a valid license.
Prerequisites
To use the full spectrum of TE-TECHNICA-IDE features, make sure to install:
Python 3.9 and Robot Framework 5 Package.
Npcap or WinPcap.
.NET 6 for Buses view.
Installation Steps
Extract the TECHNICA-IDE folder and double click on the executable icon.
Specify the workspace location and click on Launch.

The Activation window should appear, Click on ‘Copy UUID’ button.
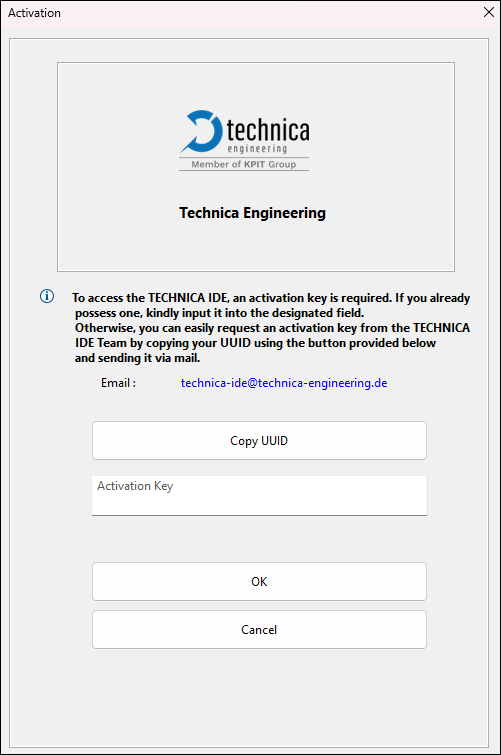
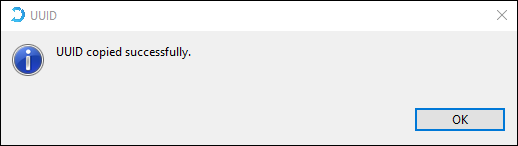
Once your UUID is copied, click on ‘OK’.
Send your UUID to TECHNICA-IDE team via email: <technica-ide@technica-engineering.de>.
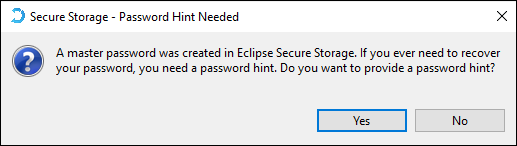
5. Once you get your Activation Key, paste it into the ‘Activation Key’ field and click on ‘OK’ button. Note: You may add password hint (not required).
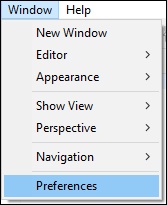
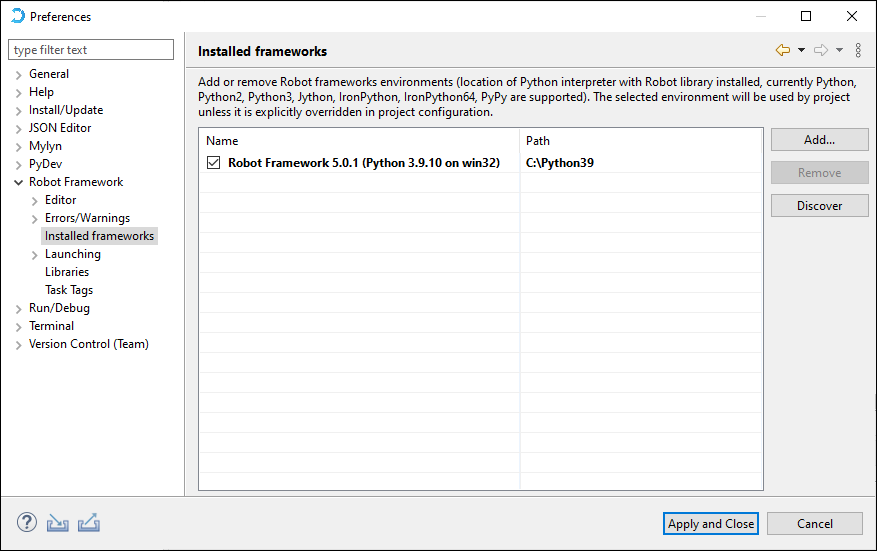
Navigate to Window > Preferences > Robot Framework > Installed Frameworks
Click on ‘Add’ then choose the python directory and select it, then click on ‘Apply and Close’.
TECHNICA-IDE Setup and Update
How to Setup
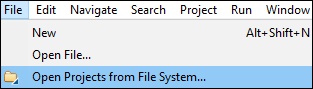
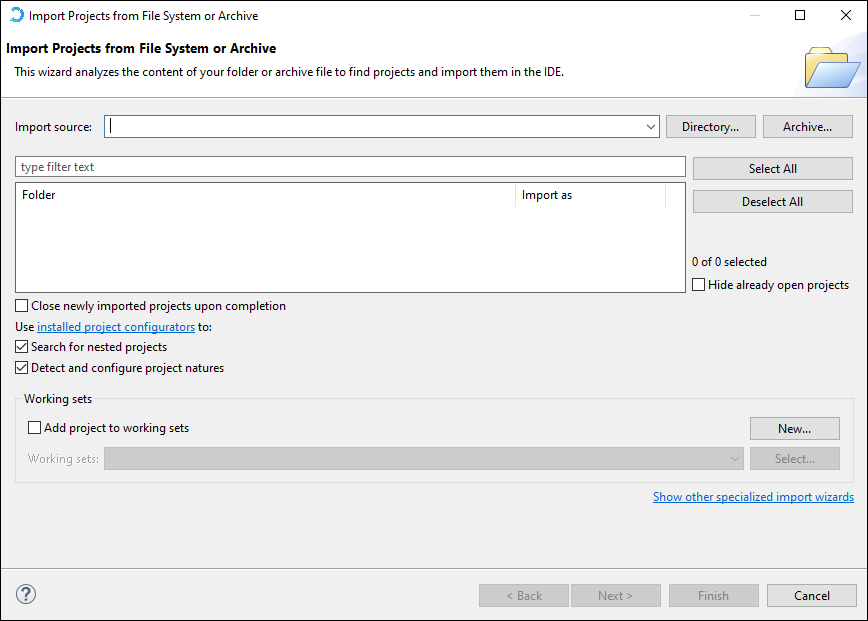
Import your git repository from file > ‘open project from file system’.
Choose your project directory and click on Finish.
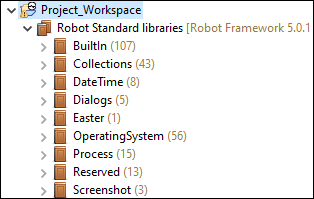
After Pressing Finish, the project should be displayed in the Project Explorer window.
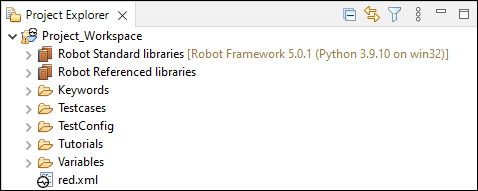
After the project is imported, make sure that your libraries are imported successfully.
How to update
To update TECHNICA-IDE to a new release:
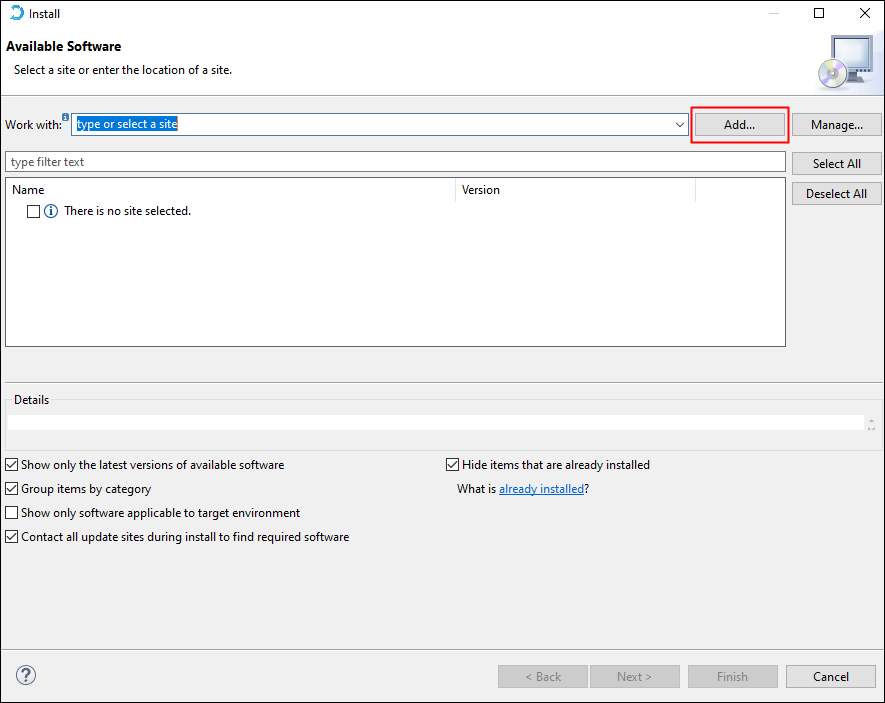
Navigate to Help > Install New Software…

Click on Add.
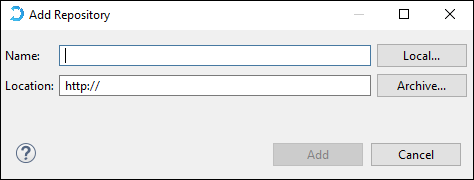
Click on Archive and select the update site zip file, then click on Add.
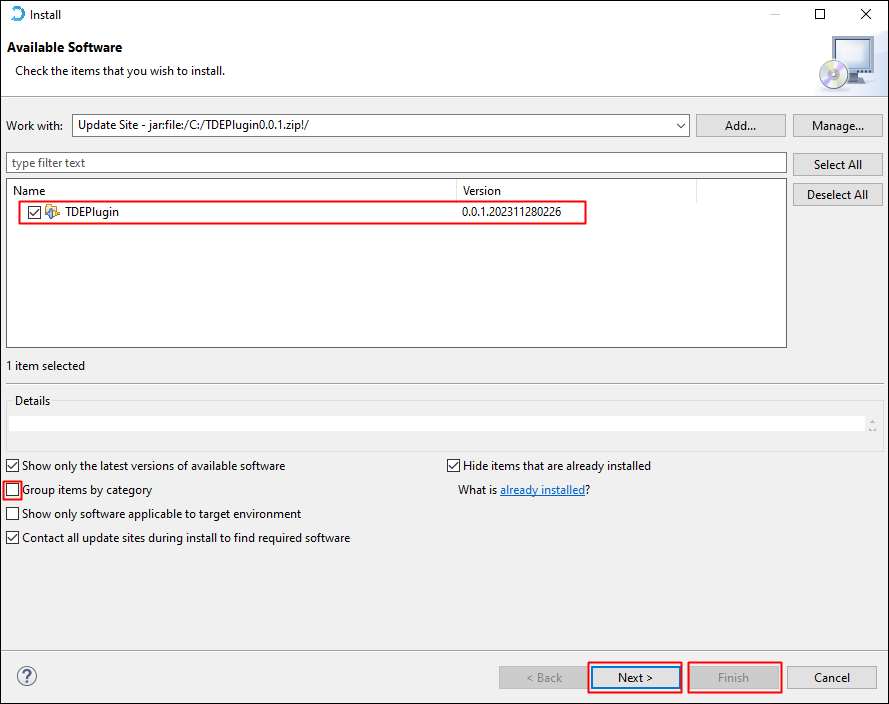
Uncheck Group items by category, select the feature to be installed, click on Next, then Finish.
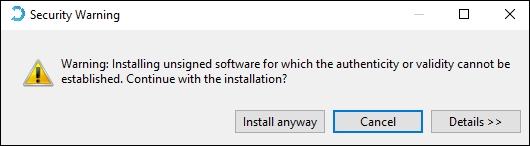
Click on Install Anyway.
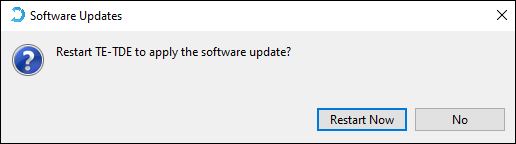
Once the installation is finished successfully, restart the tool.
To verify the TECHNICA-IDE installed plugin version, navigate to Help > About TECHNICA-IDE > Installation Details.